Minecraft Fossil Finder – Locate Bone-Block Fossils in Deserts & Swamps
A minecraft fossil finder is a different kind of hunt from the other finders on this site. Fossils do not stand on the surface like temples or outposts – they are buried skeletons of bone blocks hidden underground in deserts and swamps, and most players walk over them for years without ever knowing one was below. This page is your complete guide to finding them: where they generate, how to narrow the search with the seed map, and how to turn a fossil into a bone meal supply that lasts a whole world.
Try These Seeds in the Seed Map
One honest note up front: Minecraft Seed Finder does not currently have a dedicated fossil layer or a fossil search condition, so this page does not pretend one exists. Instead it shows you the method that actually works – using the map’s desert and swamp biome layers to pick the right ground, then digging smart – plus how to read the clues that say a fossil is nearby.
What Is a Minecraft Fossil Finder?
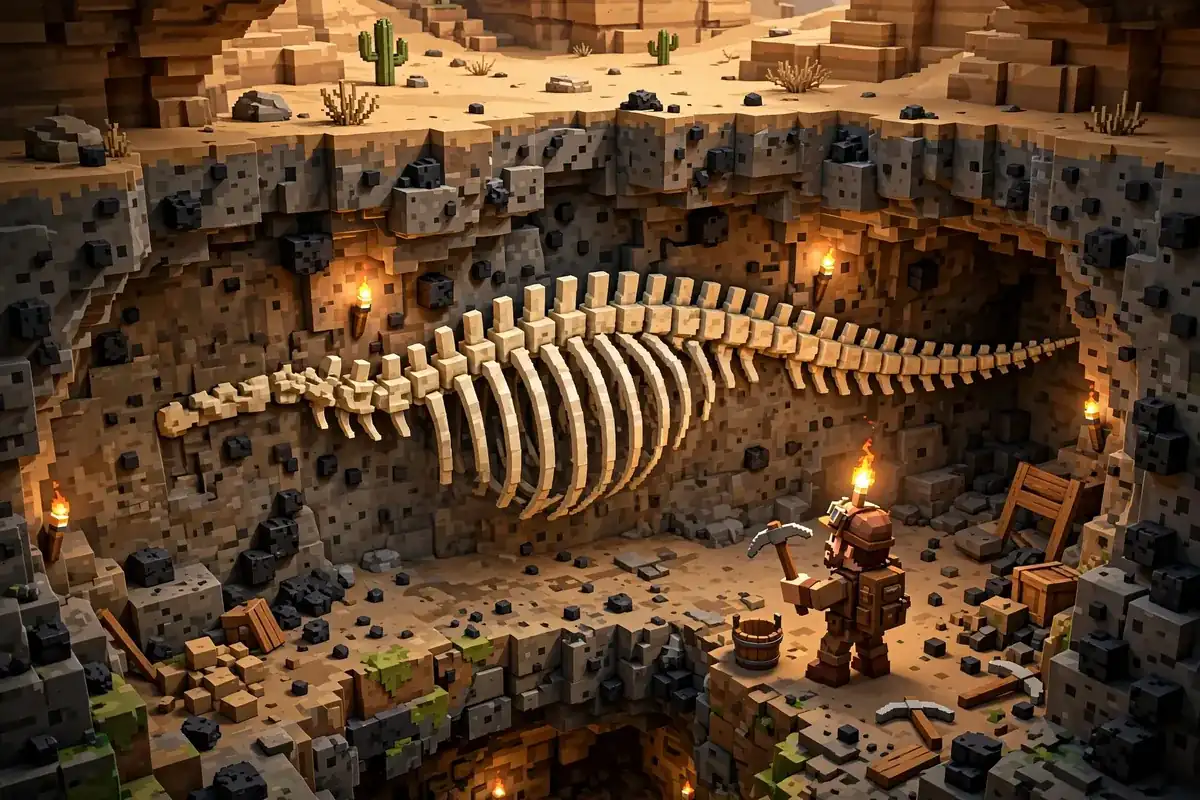
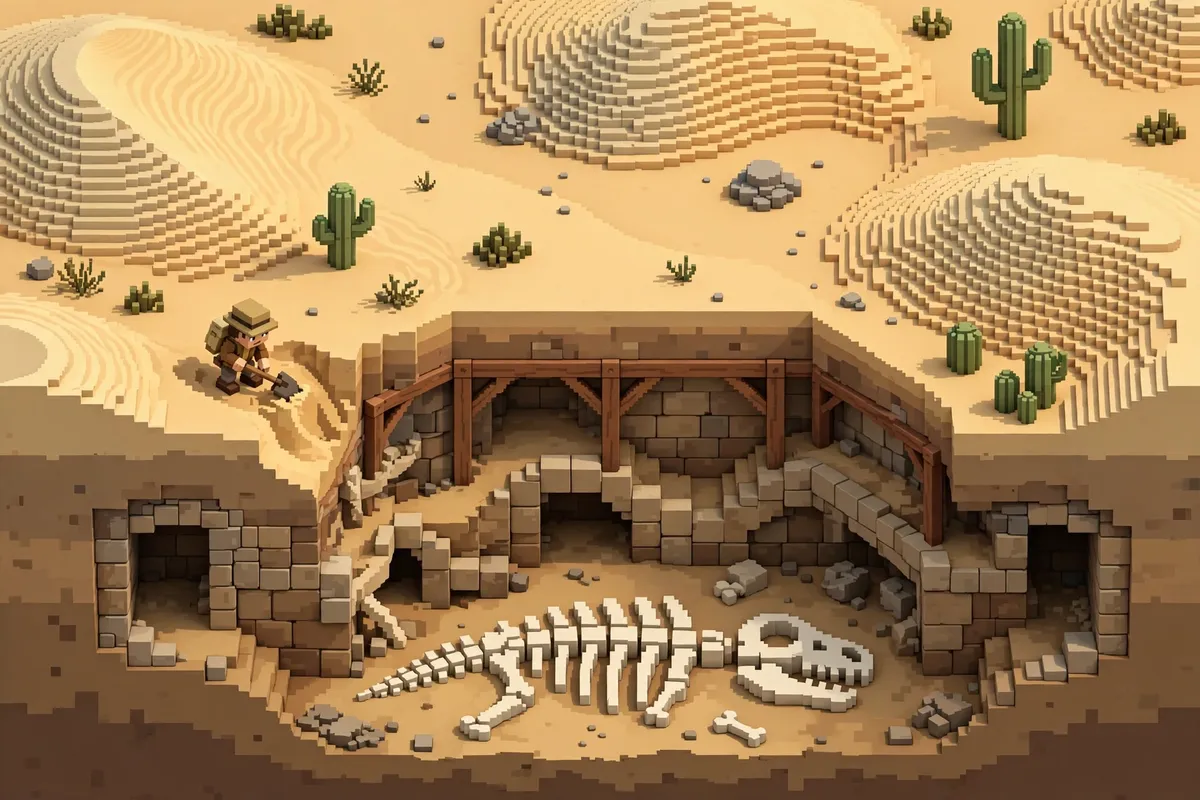
A minecraft fossil finder is any method that locates fossils – the rare underground structures made of bone blocks and sometimes coal ore – in a Minecraft world. A fossil is the mineralised skeleton of a long-dead creature: a spine and ribs, or a skull, built from bone blocks and buried below the surface. Fossils generate only in desert and swamp biomes, and only underground, which is why they are among the least-seen structures in the game.
Because fossils are underground and invisible from the surface, the search is about narrowing ground, not spotting a building. The minecraft fossil finder approach has three steps: find the right biome, find the right depth, and strip-mine or cave-dive that patch until bone blocks appear. The seed map helps with the first step decisively – it shows you exactly where your deserts and swamps are – and the rest of this page covers the digging.
Where Fossils Generate: Deserts, Swamps, and Depth
Fossils follow strict rules, and knowing them is what makes a minecraft fossil finder search work:
| Fact | Detail |
|---|---|
| Biomes | Desert and swamp biomes only – including desert variants, swampy ground, and mangrove swamps on Java |
| Depth | Underground, in the deeper layers below the surface |
| Shape | Spine-and-ribs or skull shapes made of bone blocks |
| Bonus blocks | Coal ore sometimes appears mixed into the fossil |
| Rarity | Rare – most desert or swamp patches hold none at all; roughly one chunk in 64 holds a fossil |
The rarity is the point. A fossil is not something you stumble across while mining; it is something you deliberately hunt by clearing a large underground volume inside the right biome. Digging a hundred-block tunnel under a plains biome will never produce a fossil – dig the same tunnel under a desert and you are at least in the right place.
How to Use the Minecraft Fossil Finder Method
- Paste your seed – Enter your world seed in the seed box on the seed map. If you do not have a world yet, the Minecraft seed finder can search for seeds with a large desert near spawn.
- Match your edition and version – Choose Java or Bedrock and your exact game version.
- Find your desert or swamp – Use the minecraft fossil finder method with the Minecraft biome finder layers on the map to locate the biggest desert or swamp near your base. Bigger biomes mean more underground volume to search.
- Pick a dig site – Choose a spot well inside the biome, not on its edge – fossils generate under the biome itself, and edge ground is wasted effort.
- Dig to depth – Go down to the deeper underground layers and start a branch-mine or explore the caves under the biome. Caves do half the work for you by exposing large volumes of stone.
- Watch for bone blocks – Bone blocks stand out: pale, smooth, and unlike any normal stone. One bone block usually means the fossil is right there – follow the shape.
- Harvest and share – Mine the bone blocks, and use the share menu to Copy link or Save PNG of the map so friends can find the same biome.
If you are used to the chunkbase fossil finder, you will recognise the idea: a tool that points at fossils in a seed. What this page offers instead is the honest version of that workflow for a tool without a fossil layer – biome-first searching with the seed map. The ground you dig matters most: the right biome, at the right depth, with enough tunnels.
Fossils and Bone Block Farming
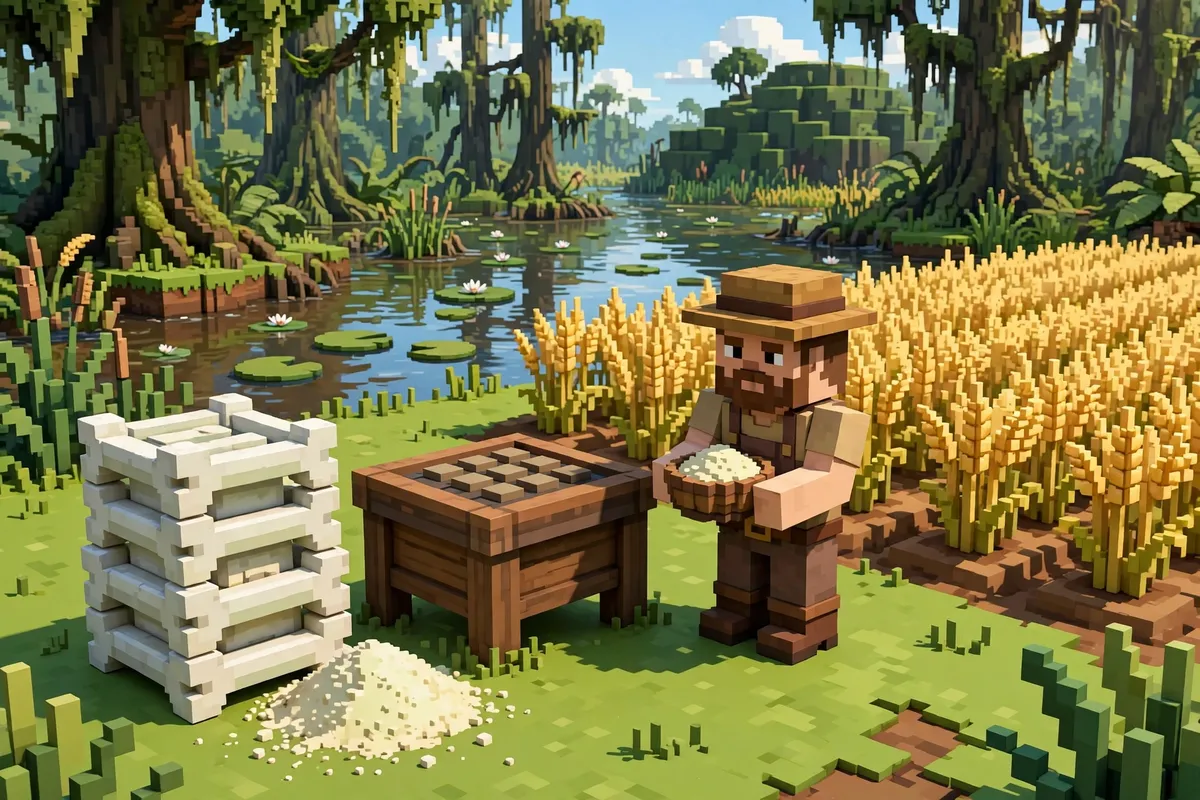
Fossils are the only structure that hands you bone blocks in bulk, and bone blocks are the fastest route to bone meal in the game. One fossil can yield dozens of bone blocks, and each bone block crafts into nine bone meal. That is the real reason to hunt fossils: bone meal powers crop farms, grows trees on demand, and feeds the composter for even more bone meal.
The minecraft fossil finder payoff is the farming loop, and it is simple:
- Find and fully excavate a fossil – do not leave bone blocks behind, because a half-mined fossil is wasted bone meal.
- Craft the bone blocks into bone meal, or keep some bone blocks for building – they make striking pale walls and floors.
- Use the bone meal on crops, saplings, and grass to accelerate your farms.
- If you want a renewable supply, pair the fossil haul with a skeleton farm or a composter loop – fossils are a one-time windfall, farms are the long-term supply.
For players building large farms, the minecraft fossil finder haul is best treated as startup capital: enough bone meal to get crop and tree farms running, with renewable sources taking over from there. The Minecraft ore finder and Minecraft diamond finder pages help you plan mining trips in the same area.
Deep fossils carry a bonus worth hunting: a fossil that generates low enough to overlap diamond levels can have diamond ore mixed in with the bone blocks, so a fossil trip can double as a diamond trip. Hunt in the same depth range you would mine diamonds – the deep underground layers where diamond ore appears – and check every bone-block wall for the telltale teal ore.
Fossil Hunting Tips That Actually Help
Use caves, not blind tunnels. The minecraft fossil finder method favours caves: natural caves under a desert expose far more stone per minute than branch mining, and fossils often poke through cave walls where you can spot the pale bone blocks from across a cavern. Explore every cave system under your target desert before you start digging fresh tunnels. A chunkbase fossil finder result would hand you exact coordinates; without one, caves under the right biome still do half the work.
Bring the right kit. Torches, a water bucket, food, and a shield are the baseline. Silk Touch is unnecessary – bone blocks drop as bone blocks with a normal pickaxe.
Check swamps too. Desert fossils get the attention, but swamp fossils are equally real, and swamps have the bonus of slime and clay nearby. If your world has a big swamp and a small desert, hunt the swamp first. The Minecraft slime chunk finder can show you which swamp chunks also produce slimes.
Do not confuse fossils with other pale blocks. Diorite, calcite, and bone blocks all look light-coloured in the dark. Bone blocks have a distinctive smooth, jointed texture – once you have seen one fossil, you will never mistake it again.
Chunkbase Fossil Finder vs the Biome-First Method
A chunkbase fossil finder search points at fossils directly, because that tool maps fossil positions from the seed. This page takes a different route, and it is worth being clear about why: Minecraft Seed Finder has no dedicated fossil layer, so the honest method here is biome-first – find your biggest desert or swamp on the map, then dig the deeper layers beneath it. A chunkbase fossil finder check is the faster option if you want exact fossil coordinates; the biome-first method on this page is the option that works inside this tool, and the digging advice is the same either way.
Fossil Finder vs Digging Blind
Digging at random under random ground is the slowest way to find a fossil, because the biome rule alone eliminates most of the map. The minecraft fossil finder method on this page – biome-first, map-guided, depth-aware – is the difference between a search with a chance and a search with none. For an existing survival world without cheats, pasting the seed and locating your biggest desert or swamp is the only practical way to start. One thing no command can do: /locate does not find Overworld fossils, because the game treats them as a feature rather than a structure – the command only finds Nether fossils. Biome-first searching is the method that works.
If you want exact fossil coordinates, a chunkbase fossil finder check is the direct route; the biome-first method above is the route that works inside this tool.
When you are done fossil hunting, pair the minecraft fossil finder method with the full set of tools on the finders hub, and the Minecraft seed finder can search for seeds with a large desert near spawn. Prefer a ready-made world? The best Minecraft seeds collection includes survival-friendly spawns, and the seed map itself is always one click away.
Final Thoughts
Fossils are a patient hunt – the right biome, the right depth, and enough tunnels to let the bone blocks show themselves. Most players walk over fossils for years without knowing; now you know where to dig.
If you came here from a chunkbase fossil finder search, you already know the faster route to exact coordinates – this page’s biome-first method is the one that works inside this tool. Open the seed map, find your biggest desert or swamp, and try the minecraft fossil finder method on your own world: pick the biome, dig to depth, and follow the bone blocks.