Minecraft Trail Ruins Finder – Locate Buried Ruins and Pottery Sherds
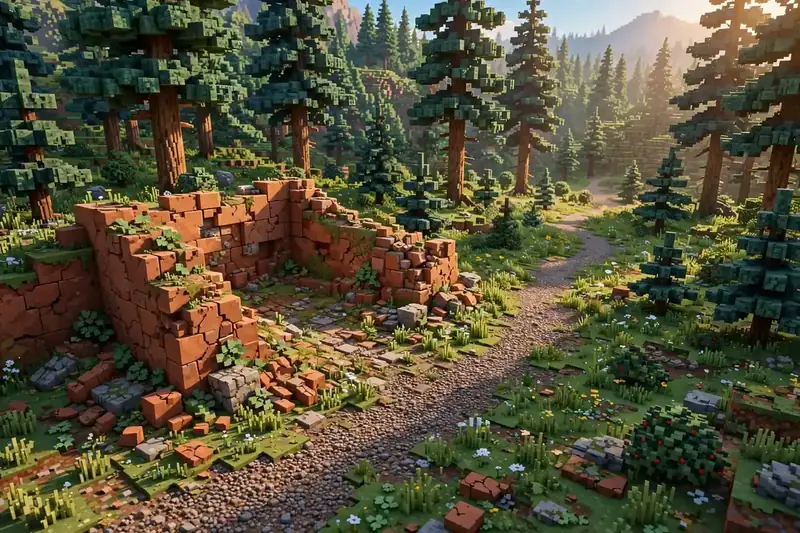
A minecraft trail ruins finder turns the hardest structure in Minecraft to find by accident into a marker on your map. Trail ruins generate half-buried, with only a few gravel and terracotta blocks poking through the grass, in forests you would normally walk straight past. Most players have crossed right over one without ever noticing. With the finder, you walk to the exact spot, brush the suspicious gravel, and pull out pottery sherds that are otherwise nearly impossible to stumble across.
Try These Seeds in the Seed Map
What Is a Minecraft Trail Ruins Finder?
A minecraft trail ruins finder is a map tool that reads your world’s seed and marks every trail ruins site on it. Enter a seed, pick your version, and the map shows each ruin’s position against the surrounding terrain. Minecraft Seed Finder runs the actual world-generation code for Java 1.7–“26.3 and Bedrock Beta 1.7–“26.60, so the markers are the real ruin positions. Trail ruins were added in the 1.20 Trails & Tales update, so they only exist in worlds generated on 1.20 or later – the tool’s version dropdown handles that automatically.
How to Find Trail Ruins With the Tool
- Open the seed map – Go to the seed map tool and type your seed into the seed box.
- Pick version 1.20 or later – Trail ruins do not generate on older versions, so choose 1.20+ for Java or the matching Bedrock release.
- Turn on the Trail Ruins layer – In the Layers panel, tick Trail Ruins (layer key
s23). Unlike most structure layers, this one is off by default, so it is easy to miss. - Read the terrain – Ruins generate only in five biome types: taiga, snowy taiga, old growth birch forest, old growth spruce taiga, and jungle. They sit buried underground, roughly between Y -20 and Y 20, most often around Y 0 to Y -10. The map shows the ruin marker and the biome around it, so you can tell which forest to head for.
- Search fresh seeds (optional) – Click Find seeds, then Add condition, choose Structure → Trail Ruins, set a radius, and click Search for up to 100 seeds with a ruin near spawn.
- Share the location – Use the share menu to Copy link, Save PNG, or export a 4K poster of the map for your group.
What Are Trail Ruins?
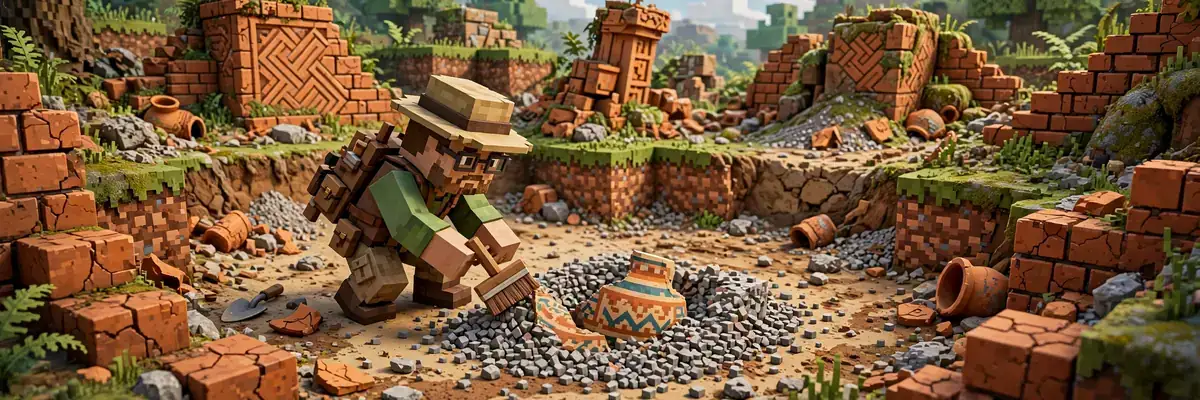
Trail ruins are the buried remains of an old settlement: a maze of gravel, dirt, and terracotta paths with a few structures still standing above ground. What makes them special is archaeology – they are one of only two places in the game (along with ocean ruins) where you find suspicious blocks, and the only place that yields several exclusive pottery sherds. That is the problem a minecraft trail ruins finder solves: it puts a marker on a ruin you would otherwise walk past without noticing.
| Find | Where | Why it matters |
|---|---|---|
| Suspicious gravel | Buried rooms and paths | Brush it to reveal loot |
| Pottery sherds | Inside suspicious gravel | 12+ ruin-exclusive designs |
| Armor trim templates | Inside suspicious gravel | Raiser, Host, Shaper, and Wayfinder templates – exclusive to trail ruins |
| Music disc “Relic” | Inside suspicious gravel | One of the game’s rarest discs |
| Decorated pots | Crafted from 4 sherds | Display pieces for builds |
| Terracotta and bricks | Ruin walls and paths | Building materials |
The ruin itself is modest – a few walls, a tower stump, gravel paths. The value is entirely underground, in the buried rooms where the suspicious gravel sits. Expect to dig: the good loot is below the surface layer, not on it.
How Archaeology Works at Trail Ruins
Archaeology at trail ruins runs on one tool and one rule: the brush.
- Craft a brush from a feather, a copper ingot, and a stick. You cannot loot suspicious gravel without one.
- Brush suspicious gravel slowly. Each suspicious block can be brushed until the item pops out – breaking the block destroys the loot.
- Look for gravel patches. Suspicious gravel looks like ordinary gravel with a slightly different texture; the ruin’s buried rooms hold most of it, usually one to two blocks down.
- Collect sherds, then craft. Four matching or mixed sherds craft one decorated pot. Ruin sherds include designs you cannot get anywhere else, such as the miner, mourner, and shelter patterns.
- Keep every armor trim. Trail ruins are the only source of the Raiser, Host, Shaper, and Wayfinder armor trim templates – brush every suspicious gravel block, because templates are rare drops.
- Watch for the Relic disc. Suspicious gravel in trail ruins can drop the Relic music disc – one of the game’s rarest discs, and a good reason to brush every gravel block.
Because suspicious gravel is fragile and easy to destroy by accident, mark the ruin on the map first, dig carefully around the gravel patches, and brush – never mine – anything that looks suspicious. Once a minecraft trail ruins finder puts you on the right gravel patch, patience does the rest.
How to Find Trail Ruins in Minecraft Without a Tool
Players who ask how to find trail ruins in minecraft chunkbase style usually want a map marker, and a chunkbase trail ruins finder check gives exactly that – the tool above is the direct answer with the seed search built in. In-game, without any tool, the method is slower: wander taiga, old-growth, and jungle forests and watch for unnatural gravel and terracotta poking through the grass, especially near dirt paths that cut unnaturally straight lines. With cheats, /locate structure minecraft:trail_ruins points at the nearest ruin directly. Ocean ruins are easier to spot because sand and water expose them; trail ruins hide under grass and trees, which is why a map marker saves so much time. If you already have a world and just need the ruins in it, entering that world’s seed is faster than exploring forest after forest.

Chunkbase Trail Ruins Finder vs This Tool
If you have been searching for a chunkbase trail ruins finder or a chunkbase trail ruins map, the workflow here is the same idea with one addition: the seed search is built in. Instead of checking a ruin map and then hunting for a good seed separately, you can run the Find seeds search with a Trail Ruins condition and get seeds that already have a ruin near spawn. The tool also shows what else is around the ruin – a village nearby gives you beds and food while you excavate, and the structure finder shows every other structure in the same area. For a full comparison of tools, see our Chunkbase alternative page. That is the minecraft trail ruins finder workflow: one seed, one map, every ruin. Run the minecraft trail ruins finder search before you commit to a world, and you will never excavate blind again. A chunkbase trail ruins finder check and this tool show the same ruins for the same seed – the difference is the built-in seed search: run a Find seeds search with a Trail Ruins condition and get seeds that already have a ruin near spawn, instead of checking one world at a time. A chunkbase trail ruins finder result does the job for one world; the search here finds the world itself.
Tips for Excavating Trail Ruins
- Bring two brushes. Brushes wear out, and nothing is worse than finding a rich gravel room with a broken brush.
- Clear the trees first. Ruins sit in forests; chopping the canopy over the marker makes the gravel patches far easier to spot.
- Dig in layers. The buried rooms sit below the surface paths – strip the top dirt carefully rather than blasting through with a shovel.
- Keep every sherd. Even duplicates are useful: decorated pots take four sherds, and mixed-pattern pots look better in builds than single-pattern ones.
- Check for a second ruin. Trail ruins can cluster in the same forest – zoom the map out around your first find before you leave the area.
- Cross-check with a chunkbase trail ruins finder result if you like. The ruin positions match for the same seed and version; use whichever map you have open.
- Plan the route on the map. A minecraft trail ruins finder also helps you plan the trip: check how far the ruin is from your base, whether a village is nearby for beds, and which forest road gets you there fastest.
- Prefer a ready-made world? The best Minecraft seeds collection includes survival-friendly spawns worth checking for ruins underneath.
- Pair the trip with a village. A nearby village gives you a bed, so you can excavate through the night without mobs interrupting the brushing.
Final Thoughts
Trail ruins reward the patient excavator, and the minecraft trail ruins finder is what puts you on the right gravel patch instead of a random forest. The sherds and trims are rare enough that every ruin is worth the trip – a brush, a careful dig, and a map marker make all the difference.
If you came here from a chunkbase trail ruins finder search, the workflow will feel familiar – paste a seed, see the ruins – with the seed search as the extra step for new worlds. Open the seed map, browse the finders hub, or run a fresh search with the Minecraft seed finder, and try the minecraft trail ruins finder on your own world: find the nearest ruin, brush – never mine – the suspicious gravel, and keep every sherd.